
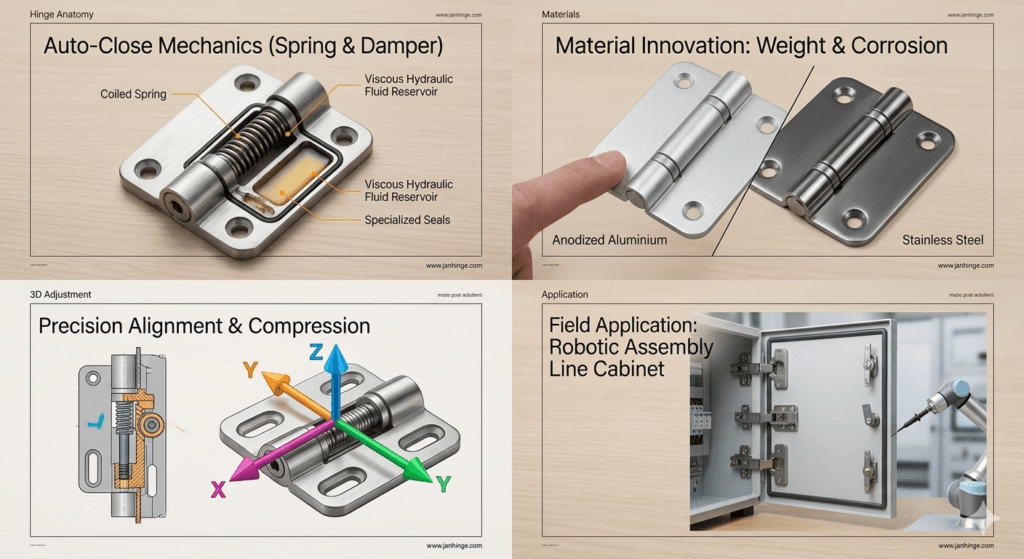
If you’ve ever chosen hinges for a cover, panel, or display that needs to stay in the desired angle—without sliding, sagging, or slamming shut—you understand the importance of free-stop functionality.But the question I hear most often from engineers and purchasing staff is: “How do I set the torque for an adjustable torque hinge, and how do I ensure it’s set correctly?”
This guide is written for people who need a practical answer to that question. Whether you are designing medical equipment, industrial control panels, monitor arms, or automotive interiors, getting the torque setting correct is the difference between a product that feels premium and one that feels like a prototype that never quite made it.
What Is an Adjustable Torque Hinge?
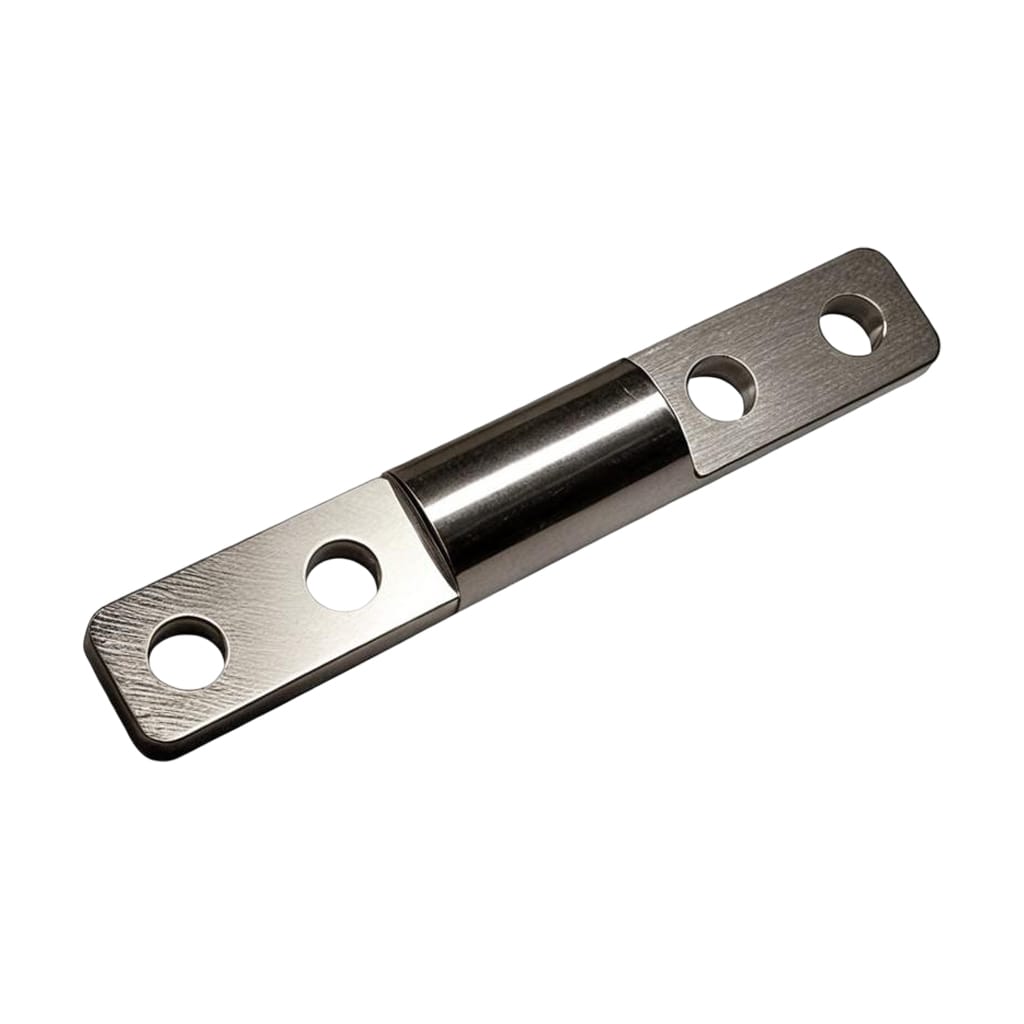
Let us start with the basics. A torque hinge—also called a friction hinge, positioning hinge, or free-stop hinge—is designed to provide resistance to pivoting motion, allowing panels, lids, or display devices to stay at a desired angle. This free-stop functionality improves both safety and usability.
An adjustable torque hinge adds one critical advantage over a fixed torque hinge: the resistance can be fine-tuned after installation or during product development to match the real load, motion feel, and user experience. Instead of selecting a fixed resistance from the start and hoping it works, you can adjust the hinge within its design range to achieve the right balance between holding force and ease of movement.
Adjustable torque hinges are commonly selected when the final load is not fully fixed during development, when product feel matters, or when post-installation tuning is required. They are especially useful in industrial equipment, medical devices, electronics, display systems, and prototype-driven product development.
How Adjustable Torque Hinges Work: The Mechanism
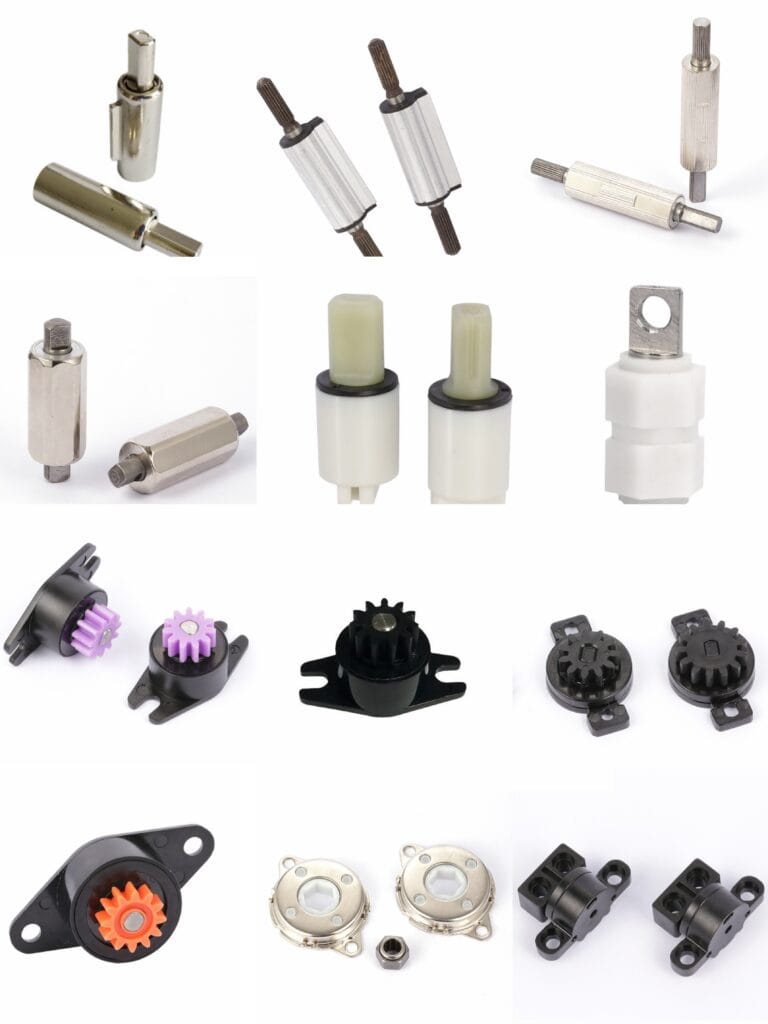
Most adjustable torque hinges employ an internal friction mechanism. Inside the hinge body, friction elements (such as discs, washers, cams, or spring-loaded interfaces) generate resistance as the hinge rotates. The rotational torque of the hinge can be adjusted by changing the preload or pressure within this mechanism.
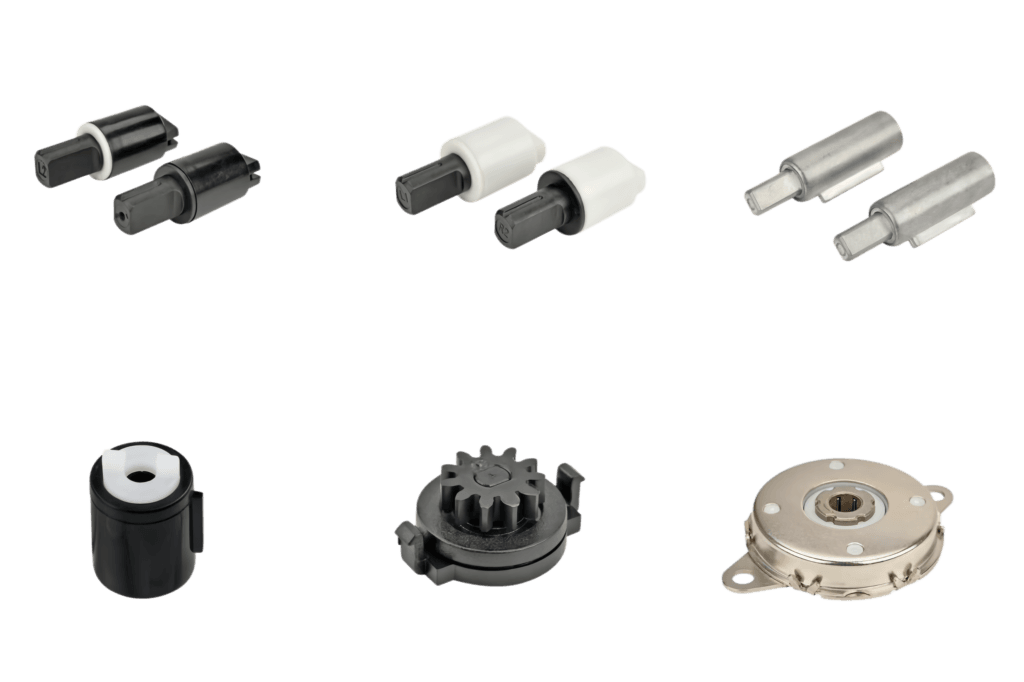
There are three main mechanisms by which torque hinges generate friction:
- Disc structure: A movable disc is sandwiched between two fixed discs.
- Helical structure: A rotating shaft sits inside a helical spring.
- Tube structure: A rotating shaft is press-fitted into a plastic tube.
Adjustment mechanisms vary between manufacturers. Some hinges use a simple screw — clockwise rotation increases friction, counterclockwise rotation reduces friction. Others feature an adjusting nut that requires a wrench or Allen wrench. The underlying principle remains identical: tune to the target resistance by altering internal preload.
This rotational resistance is expressed in Newton-meters (N·m). By increasing or decreasing the internal preload, the hinge can be adjusted to allow the panel to move more freely, hold its position more firmly, or achieve a more controllable sense of motion.
Step-by-Step: How to Set Torque on an Adjustable Free Stop Hinge
The actual process of setting torque varies slightly by model, but the general workflow is consistent across most adjustable torque hinges. Here is the step-by-step approach I recommend.
Step 1: Know Your Adjustment Mechanism
Before you touch anything, identify what tool you need. Different manufacturers use different adjustment methods:
| Adjustment Type | Tool Required | Example Models |
|---|---|---|
| Screwdriver adjustment | Phillips or flathead screwdriver | CFU series (ELESA), XG11 series |
| Spanner adjustment | Spanner (nominal size 10 or 13) | HG-TASJ40, HG-TAWJ40 (Sugatsune) |
| Hex key adjustment | Hex key (nominal size 5) | HG-TQJ100 (Sugatsune) |
For example, the Sugatsune HG-TASJ40 requires a spanner (nominal size 13) for torque adjustment, and the factory setting is 4.0 N·m. The HG-TQJ100 uses a hex key (nominal size 5). ELESA’s CFU series uses a simple screwdriver—clockwise to increase, counterclockwise to reduce.
Step 2: Start from the Factory Setting
Most adjustable torque hinges come with a factory-preset torque value. This is a useful starting point. For example, the Sugatsune HG-TASJ40 is factory-set at 4.0 N·m. Do not assume this is the right setting for your application—it is a baseline, not a recommendation.
Step 3: Mount the Hinge Properly
Before adjusting torque, make sure the hinge is installed correctly. This sounds obvious, but I have seen more problems caused by poor installation than by incorrect torque settings.
Key installation rules:
- Ensure both hinge shafts are levelled and aligned
- When using multiple hinges, the torque values must be the same
- Install with the shaft in a horizontal position
- Use all mounting holes
If the shafts are not aligned, the hinge will bind, and your torque adjustment will be meaningless.
Step 4: Adjust in Small Increments
This is where patience pays off. Do not crank the adjustment mechanism from minimum to maximum in one go. Make small adjustments—a quarter-turn at a time—and test the feel after each adjustment.
For screw-type adjustments:
- Clockwise increases friction (more resistance, stiffer movement)
- Counterclockwise reduces friction (less resistance, easier movement)
For nut-type adjustments, the principle is the same—tightening increases torque, loosening decreases it.
Step 5: Test the Free-Stop Function
After each adjustment, rotate the door, lid, or panel through its full range of motion. The hinge should:
- Hold the load steady at any angle without creeping
- Allow smooth, one-handed operation
- Not require excessive force to move
If the panel sags or drifts, increase the torque. If it is too stiff to operate comfortably, reduce the torque.
Step 6: Verify with the Actual Load
Here is a mistake I see all the time: engineers test the hinge without the full assembly weight attached. The torque requirement changes with the actual load. Always test with the complete door, panel, or lid—including any additional components that will be attached in production.
The Physics: Calculating the Torque You Need
Before you start adjusting, you need a target torque value. The fundamental calculation starts with the load and its center of gravity.
The formula used by industry leaders is straightforward:
T = W × L × cos θ
Where:
- T = required torque (N·m)
- W = weight of the door, lid, or panel (kg)
- L = distance from the hinge pivot to the center of gravity (m)
- θ = angle between the panel and the horizontal plane
The moment of the door is at its maximum when the center of gravity is horizontal relative to the rotation axis. At that position, cos θ = 1, so the formula simplifies to T = W × L.
Worked Example
Consider a medical equipment panel weighing 2.5 kg, with its center of gravity 0.2 meters from the hinge pivot. The required torque at the horizontal position is:
T = 2.5 × 0.2 = 0.5 N·m
However, this is the theoretical minimum. In real-world applications, you should apply a safety factor. Most engineers use a factor of 1.5 to 2.0 to account for manufacturing tolerances, wear over time, and variations in operating conditions.
For this example, a target torque of 0.75 to 1.0 N·m would be appropriate.
The Tolerance Trap
Every friction hinge torque rating has a tolerance band—usually ±15% to ±25%. This is one of the most consequential numbers in hinge selection, and it is often buried in a footnote. What it means: a hinge rated at 2.0 N·m with a ±20% tolerance could actually deliver anywhere from 1.6 to 2.4 N·m.
When you are adjusting torque, keep this tolerance in mind. Your target should be in the middle of the adjustable range, not at the extreme ends.
Fixed vs. Adjustable: Which One Should You Choose?
This is a question every procurement professional and engineer faces. Here is the decision framework I use.
Choose Fixed Torque Hinges When:
- Your specifications are finalized and will not change
- You need a maintenance-free, structurally simple solution
- Lowest BOM cost is the priority
- You are producing high volumes with consistent loads
Choose Adjustable Torque Hinges When:
- The final load is not fully known during development
- Product feel and user experience matter
- You need post-installation tuning capability
- The panel weight may fluctuate over the product’s lifespan
- You want one hinge family to support multiple product variants
Fixed hinges win on initial procurement cost, but adjustable torque hinges have a significant advantage in total cost of ownership (TCO) because they reduce redesign work, accommodate variations, and simplify field service.

Common Mistakes and How to Avoid Them
Mistake 1: Selecting Torque Equal to Theoretical Load Torque
Do not select hinge torque equal to theoretical load torque. I recommend a 20 to 30 percent torque margin to compensate for wear and temperature variation.
Mistake 2: Ignoring Cycle Life
Torque-to-weight matching is necessary. It is not sufficient. Correctly torqued hinges can fail early if nobody checked cycle life against actual usage frequency, or because the operating temperature shifted the effective torque outside the holding range.
Many quality hinges are tested to 20,000 or even 40,000 open/close cycles. Ask your supplier for cycle test data.
Mistake 3: Assuming One Torque Fits All Installation Directions
A 30 kg panel does not always require the same torque regardless of installation direction. The moment arm changes with the orientation of the panel. Calculate the torque requirement for the worst-case position—usually when the center of gravity is horizontal relative to the pivot.
Mistake 4: Forgetting to Match Torque Across Multiple Hinges
When using two or more hinges on a single door or lid, the torque values must be the same. If one hinge is tighter than the other, the door will twist, bind, or wear unevenly.
Mistake 5: Overtightening the Adjustment Mechanism
Do not forcibly remove or overtighten the torque adjustment nut. The adjustment mechanism has a designed range. Exceeding it can damage the internal friction elements and permanently alter the hinge’s performance.
Application-Specific Considerations
Medical Equipment
Medical devices demand precise positioning and reliability. Adjustable torque hinges are used in diagnostic equipment, surgical lights, and patient monitoring systems. The ability to fine-tune torque during assembly ensures consistent feel across production units.
Monitor Arms and Displays
Positioning HMI screens and operator panels at any angle requires smooth, stable torque. Adjustable hinges allow the same hardware to accommodate different monitor weights and sizes.
Industrial Control Panels
Control cabinets and machinery guards need to stay open during maintenance and closed during operation. Adjustable torque hinges provide the flexibility to tune the resistance based on panel weight and user preference.
Automotive Interiors
Adjustable torque hinges are used in glove boxes, center consoles, and display screens. The adjustment capability allows manufacturers to fine-tune the feel during final assembly.
Torque Adjustment: Quick Reference
FAQ
Q1: How do I know when the torque is set correctly?
The hinge should hold the door, lid, or panel securely at any angle without creeping, while still allowing smooth, one-handed operation. If the panel sags, increase the torque. If it is difficult to move, decrease the torque. Always test with the full assembly weight attached.
Q2: Can I adjust the torque after the hinge is installed?
Yes—that is the primary advantage of adjustable torque hinges. Most designs allow field adjustment using a screwdriver, spanner, or hex key without disassembling the hinge. However, always refer to the manufacturer’s instructions for the specific model.
Q3: What happens if I use a hinge with torque that is too high or too low?
If the torque is too low, the panel will not stay in position—it will drift or sag under its own weight. If the torque is too high, the panel will be difficult to operate, and users may apply excessive force that could damage the hinge or the surrounding structure. The correct torque is a balance between holding force and ease of movement.
Q4: How often should I readjust the torque?
For most applications, once the torque is set correctly, it should remain stable for the life of the product. However, if the hinge is subject to heavy use or harsh environments, periodic checks are recommended. Some manufacturers recommend readjusting the torque moment when it lowers. If you notice the panel starting to sag or drift, it is time to readjust.
Summary
Adjustable torque hinges give engineers and manufacturers the flexibility to fine-tune free-stop performance after installation. The key to getting it right is understanding your adjustment mechanism, starting from the factory setting, making small incremental changes, and testing with the actual load.
Do the math early—calculate your required torque with a safety factor. Choose adjustable hinges when your load may vary or when product feel matters. And always verify with real-world testing. The right torque setting makes the difference between a product that feels professional and one that feels like it was never quite finished.